Panels
You may import images, view and design all pages of your layout, and access templates, masks, backgrounds, illustrations, sloppy borders, and organizer panels. Also have access to any custom guides and page templates created by the user.
- Images
- Pages
- Templates
- Masks
- Backgrounds
- Illustrations
- Sloppy Borders
-
- Organizer
- Guides
- Custom Page Template
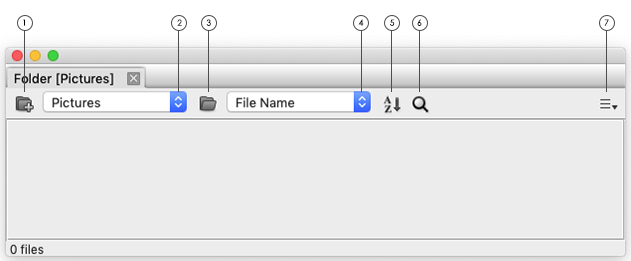
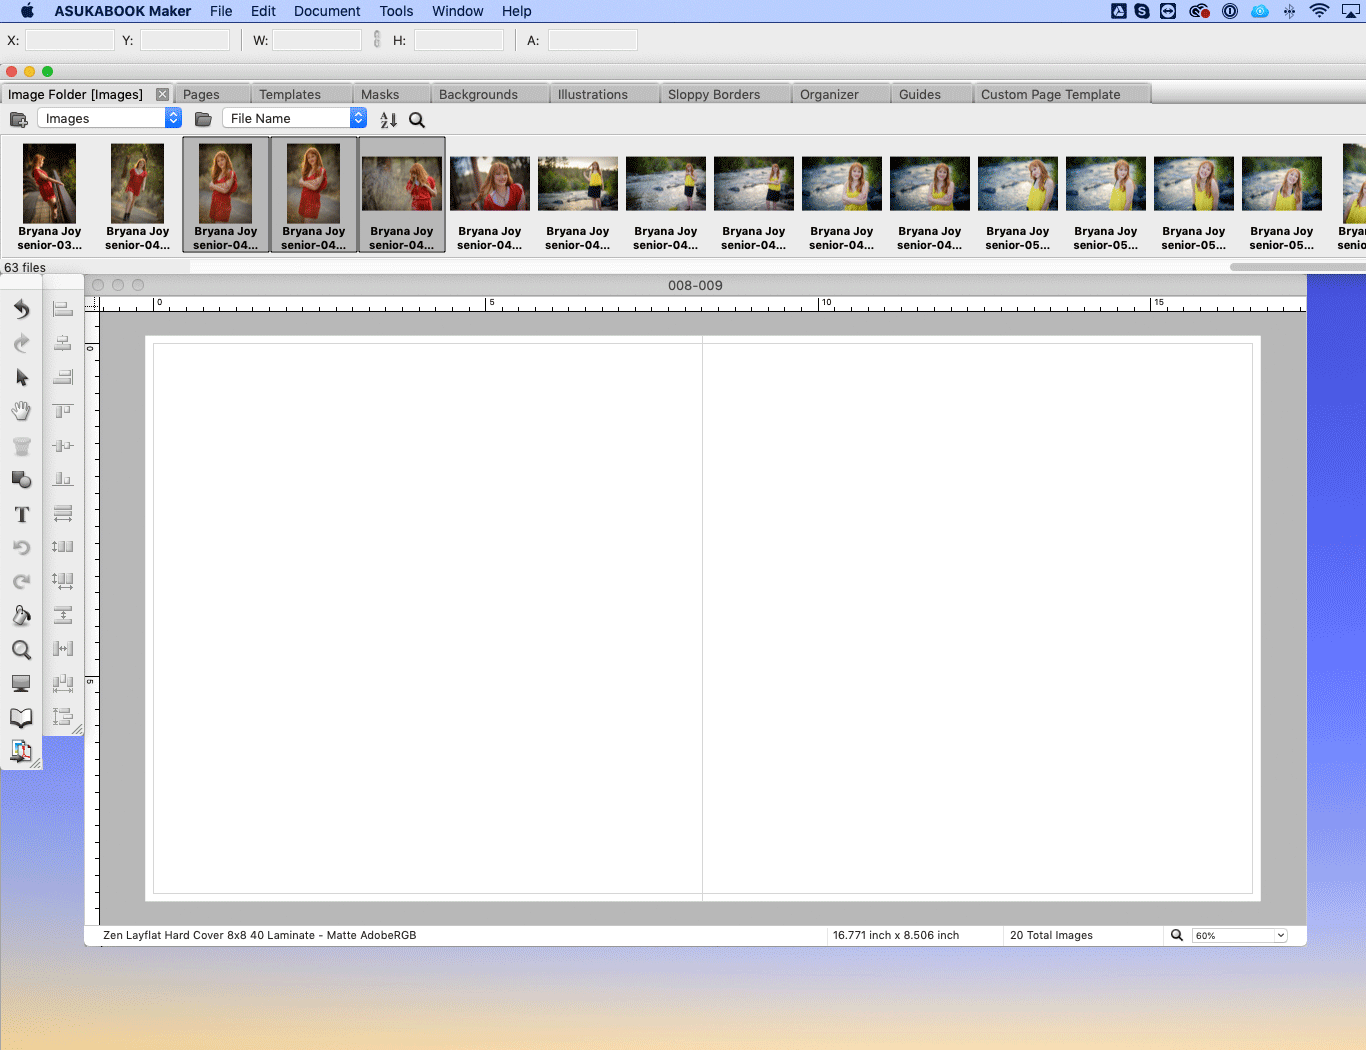
IMAGE FOLDER PANEL
The Image Folder panel displays all imported images. These can be sorted by file name, size, captured date, used and unused within layout in ascending or descending order. Use the New Image Panel feature to add another image panel and import a different set of images.
Open Image Folder Panel
If the Image Folder panel is not visible, Go to Window > Display Image Folder or select Restore the default workspace.
Open Image Folder Panel
If the Image Folder panel is not visible, Go to Window > Display Image Folder or select Restore the default workspace.
- New Image Panel: Add another Image Folder panel to import a different set of images.
- Go to Subfolders: View and select a subfolder or parent folder of the current selection.
- Select Image Folder: Opens a browser window to navigate to and select desired image folder.
- Sort Options: Sorts image files by file name, file size or captured date.
- Sort Direction: Sorts the image files alphabetically either in ascending or decending order.
- Adjust Thumbnail Size: Changes the size of the image thumbnails.
- Options: Opens Options menu.
- New Image Folder: Add another Image Folder panel to import a different set of images.
- Select Image Folder: Opens a browser window to search for and select desired image folder.
- Reveal in Finder: Shows the image folder in a finder window.
- Sort Options: Sorts image files by file name, file size or captured date.
- Sort Direction: Sorts the image files alphabetically either ascending or decending.
- Edit With: Gives a list of options of applications to open the image in for editing.
- Refresh: Reloads to default view.
- Get Info: Gives information about the image.
- Open Recent: Shows recent folders to reopen.
IMPORT IMAGES
Accepted Formats: JPG - Follow the JPG Saving Settings under File Preparation prior to importing images into AsukaBook Maker.
Method 1
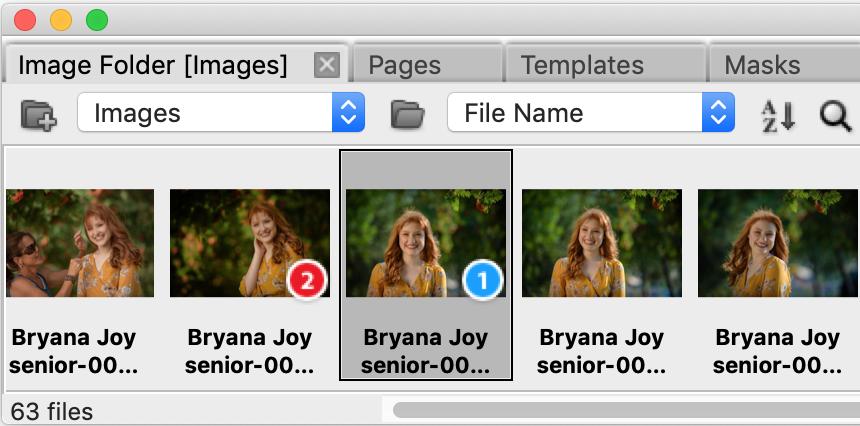
Image Thumbnail - Right-Click Menu
Enlarge/Reduce/Rotate/Move Image
Select the image to edit:
Move cursor over center of image to view the size, position, and rotate options:
Edit your image in another application such as Photoshop.
Method 1
- Select the Image Folder panel.
- Click on the Select Folder icon.
- Navigate to your images folder location.
- Select images folder.
- Click Open.
- Select the Image Folder panel.
- Open a Finder / File Explorer Window.
- Navigate to your images folder location.
- Drag and drop folder onto Image Folder panel.
Image Thumbnail - Right-Click Menu
- Edit With: Choose applications to open image with outside of ABM.
- Get Info: Gives information about the image.
TIPS
Enlarge/Reduce/Rotate/Move Image
Select the image to edit:
- Click and drag corner frame anchors to reduce or enlarge image and image frame.
- Click and drag middle frame anchors to reduce or enlarge the image frame only.
- Move cursor over corner anchors to rotate image and image frame.
- Click and drag image to new position.
Move cursor over center of image to view the size, position, and rotate options:
- The slider will enlarge or reduce the image size within the image frame.
- The arrows will move the image in that direction within the image frame.
- The curvy arrows will rotate the image in that direction within the image frame.
Edit your image in another application such as Photoshop.
- Select Image Folder Panel.
- Right-click on the image.
- Select Edit Image with and the application of choice.
- Save image with new changes.
- Go back to AsukaBook Maker.
- Click on the Options menu on the Image Folder panel.
- Select Refresh.
- The updated image will be loaded into the Image Folder panel.
- The layout will not be automatically updated if the image has already been used. Replace the image within layout if needed.
PAGES PANEL
Open Pages Panel
If the Pages panel is not visible, Go to Window > Pages or select Restore the default workspace.
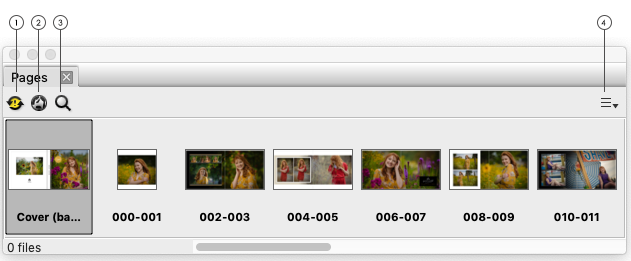
Change the Page order within the Pages Panel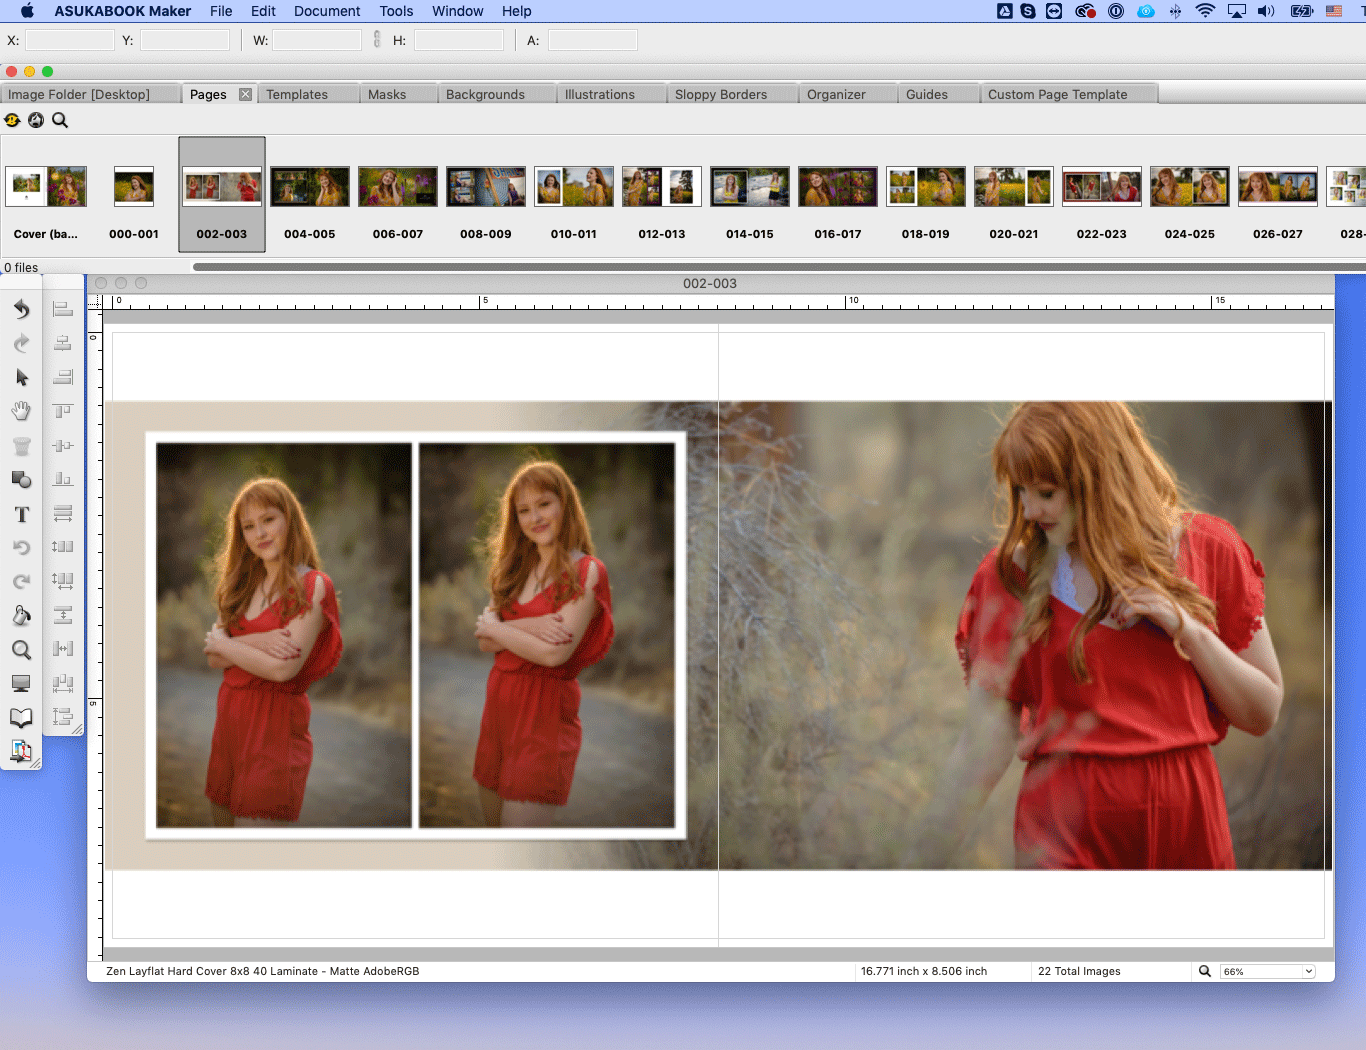
If the Pages panel is not visible, Go to Window > Pages or select Restore the default workspace.
- Sync with AlbumLayout Website: Upload design project to AlbumLayout website to proof and create slideshows.
- Launch AlbumLayout Website: Opens AlbumLayout website in a browser.
- Adjust Thumbnail Size: Changes the size of the image thumbnails.
- Options: Opens Options menu.
- Open: Open selected spread.
- Copy: Copy the contents of the selected spread.
- Paste: Paste copied contents.
- Copy Guides: Copy Guide locations of selected spread.
- Paste Guides: Paste copied Guides.
- Clear: Remove the contents of selected spread.
- Export: Export the document as an AsukaBook Maker page ( .abpage ).
- Replace: Replace with Page file ( .abpage ) or JPEG file.
- Save as Layout Template: Save the layout as a template which can be accessed from the Templates menu.
- Close: Close the Spread Window.
- Double-click on thumbnail
- Open: Open selected spread.
- Copy: Copy the contents of the selected spread.
- Paste: Paste copied contents.
- Copy Guides: Copy Guide locations of selected spread.
- Paste Guides: Paste copied Guides.
- Clear: Remove the contents of selected spread.
- Export: Export the document as an AsukaBook Maker page ( .abpage ).
- Replace: Replace with Page file ( .abpage ) or JPEG file.
- Save as Layout Template: Save the layout as a template which can be accessed from the Templates menu.
- Close: Close the Spread Window.
TIPS
Change the Page order within the Pages Panel
- Select thumbnail of the page or pages to move.
- Drag and drop thumbnails to new position.
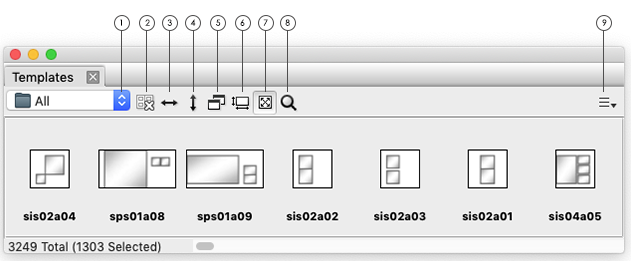
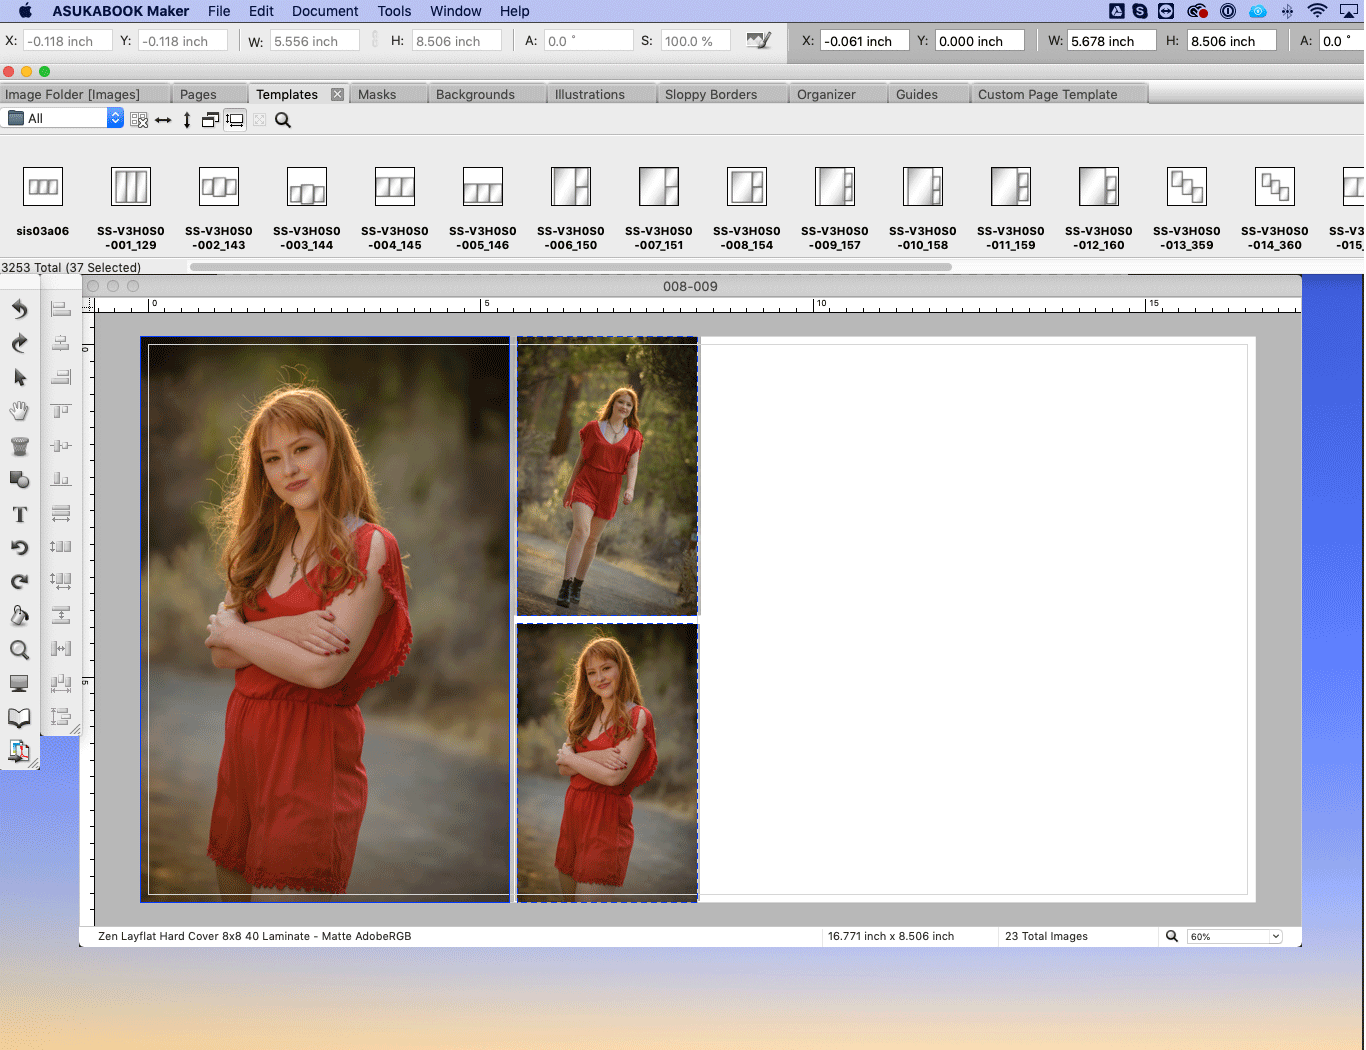
TEMPLATES PANEL
The Templates panel displays layout templates available for the selected file format (case, cover, pages) and overall design project.
Open Templates Panel
If the Templates panel is not visible, Go to Window > Templates or select Restore the default workspace.
Apply Templates
If the Templates panel is not visible, Go to Window > Templates or select Restore the default workspace.
- Select Collections: Select the collection of templates to view.
- Undo Templates: Removes any templates found on the active spread.
- Flip Horizontal: Flips the templates layout horizontally.
- Flip Vertical: Flips the templates layout vertically.
- Filter to Number of Images Allocated in Organizer: To be used with the Organizer feature.
- Filter to Selected Aspect Ratio: Only show templates of current design project ratio.
- Filter to Include Square Layouts: Also show templates of square format.
- Adjust Thumbnail Size: Changes the size of the template thumbnails.
- Options: Opens Options menu.
- Reallocate image to new templates: When turned on, any image in design area will auto fill template when you drag and drop. When turned off, template will become a new layer and separate from any previously placed image.
- Add to My Favorites: Adds the selected template to user's favorite templates.
- Flip Horizontal: Flips the templates in the template window horizontally.
- Flip Vertical: Flips the templates in the template window vertically.
- Undo Templates: Removes any templates found on the active spread.
- Collections: Select the collection of templates to view.
- Reveal in Explorer / Finder: Shows template files in the finder window.
- Refresh: Reloads to default view.
- Delete: Deletes the template from the template options.
- Add to My Favorites: Adds the selected template to user's favorite collection.
- Delete: Permanently deletes the template.
TIPS
Apply Templates
- Drag and drop selected template onto canvas area.
- Drag and drop images into image frame to complete design.
Filter Templates
To only view templates with a specific number of image frames:
Flip Template Layout
To flip the template horizontally and/or vertically: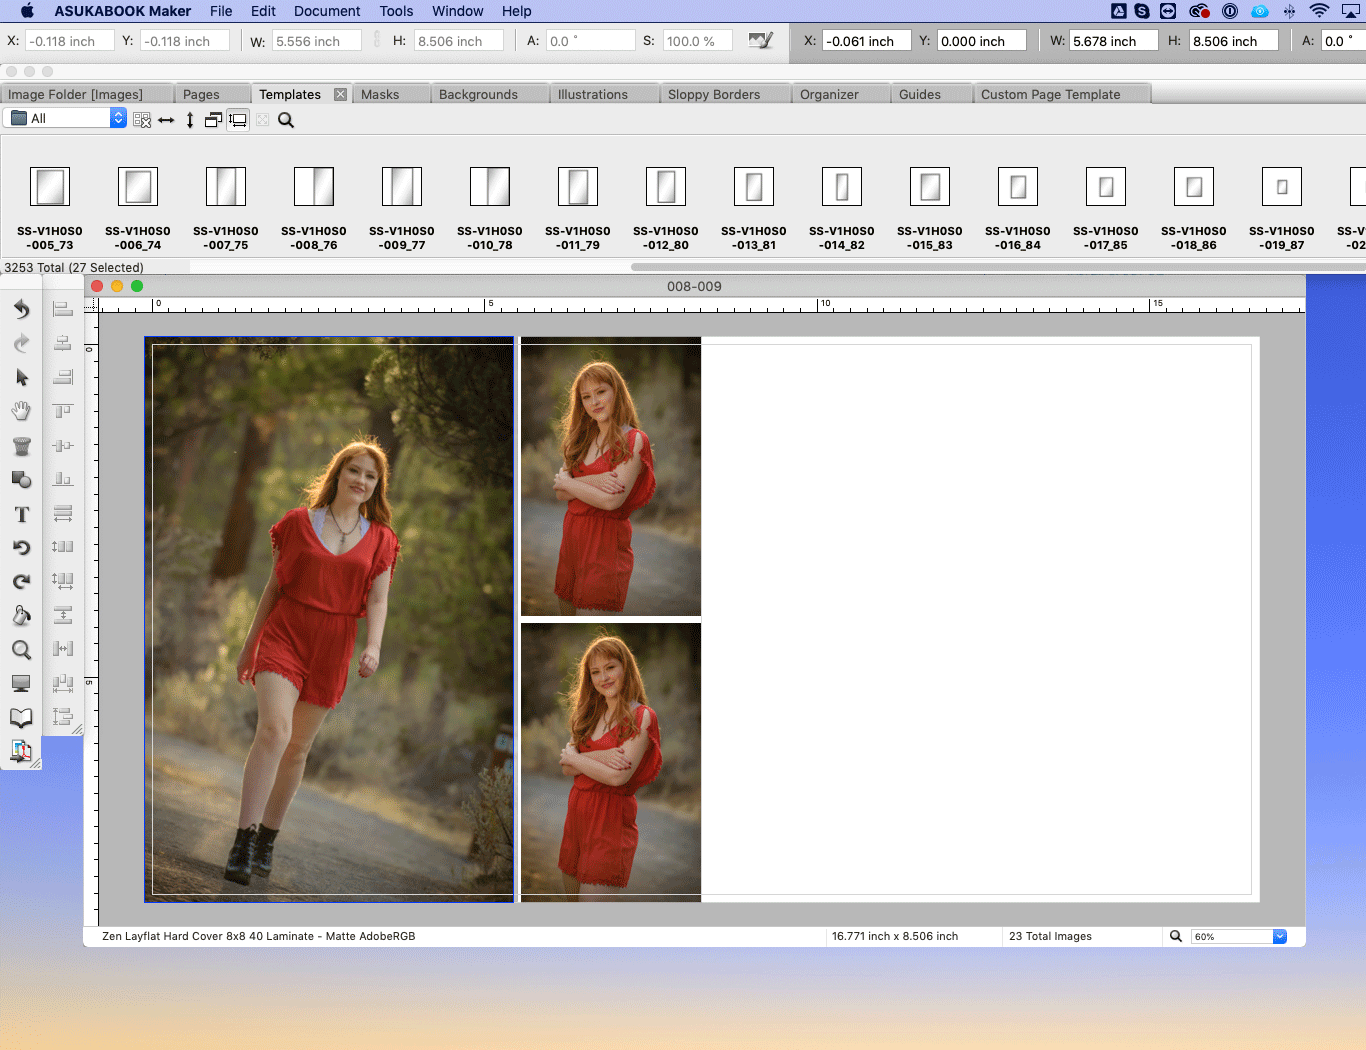
Modify Template Layout
Templates are locked by default. To further adjust the applied template:
To only view templates with a specific number of image frames:
- Drag and drop all images to be used on that page layout.
- Select all images.
- Click on the Templates panel.
- Drag and drop selected template onto canvas area.
Flip Template Layout
To flip the template horizontally and/or vertically:
- Select the Templates panel.
- Click on the Flip Vertical or Flip Horizontal icons on the Templates panel.
- Drag and drop selected template onto canvas area.
- Drag and drop images into image frame to complete design.
- Select image to move.
- Click, hold and drag over another image until the Drag and and Drop to Replace box appears.
- Drop image to swap.
Modify Template Layout
Templates are locked by default. To further adjust the applied template:
- Right-click over image to access the Right-Click menu.
- Select Locked Template to unlock.
- Move unlocked image frame to a new position, rotate, or change size.
- Click on the Undo Templates icon on the Templates panel.
- Select new template.
- Drag and drop onto canvas area. New template layout will replace the original.
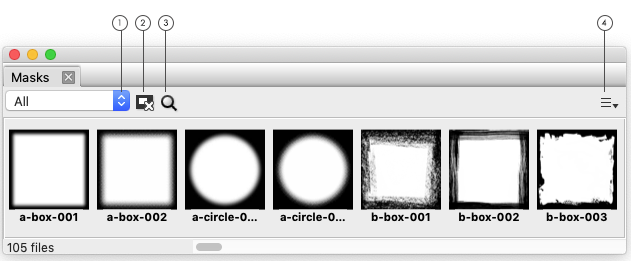
MASKS PANEL
The Masks panel displays all masks available.
Open Masks Panel
If the Masks panel is not visible, Go to Window > Masks or select Restore the default workspace.
Open Masks Panel
If the Masks panel is not visible, Go to Window > Masks or select Restore the default workspace.
- Select Collections: Filter the list.
- Undo Mask: Removes selected mask from the image.
- Adjust Thumbnail Size: Changes the size of the template thumbnails.
- Options: Opens Options menu.
- Undo Mask: Removes selected Mask from the image.
- Collections: Filter the list.
- Reveal in Finder: Shows the Mask in the finder window.
- Refresh: Reloads to default view.
- Delete: Permanently deletes the mask.
- Click on Mask thumbnail
- Drag and drop onto image
- Size and position at desired location.
- Adjust the images zoom and position within mask, if needed.
- Delete: Permanently deletes the mask.
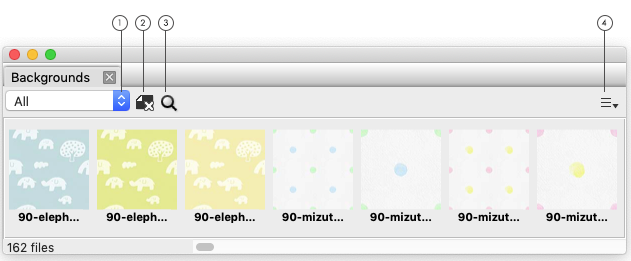
BACKGROUNDS PANEL
The Backgrounds panel displays all backgrounds available.
Open Backgrounds Panel
If the Backgrounds panel is not visible, Go to Window > Backgrounds or select Restore the default workspace.
If the Backgrounds panel is not visible, Go to Window > Backgrounds or select Restore the default workspace.
- Select Collections: Filter by collections.
- Undo Background: Removes background on the active spread.
- Adjust Thumbnail Size: Changes the size of the background thumbnails.
- Options: Opens Options menu.
- Undo Background: Removes background on the active spread.
- Collections: Filter by collections.
- Reveal in Explorer (Finder): Shows backgrounds in the finder window.
- Refresh: Reloads to default view.
- Delete: Permanently deletes the background.
- Click on background thumbnail
- Drag and drop onto canvas
- Add to My Favorites: Adds the selected background to user's favorite collection.
- Delete: Permanently deletes the background.
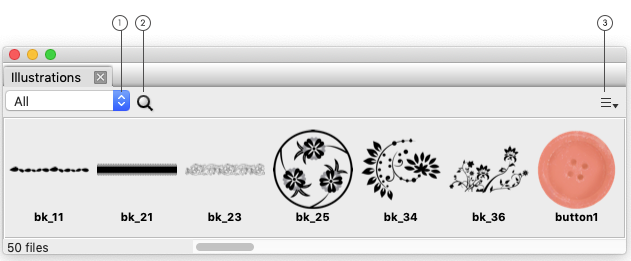
ILLUSTRATION PANEL
The Illustrations panel displays all illustrations available.
Open Illustrations Panel
If the Illustrations panel is not visible, Go to Window > Illustrations or select Restore the default workspace.
If the Illustrations panel is not visible, Go to Window > Illustrations or select Restore the default workspace.
- Select Collections: Filter by collections.
- Adjust Thumbnail Size: Changes the size of the illustration thumbnails.
- Options: Opens Options menu.
Options Menu
- Collections: Filter by collections.
- Reveal in Explorer (Finder): Shows Illustration in the finder window.
- Refresh: Reloads to default view.
- Delete: Permanently deletes the illustration.
Add Illustration
- Click on illustration thumbnail
- Drag and drop onto canvas
- Size and position at desired location.
- Adjust the images zoom and position within its window frame, if needed.
Illustration Thumbnail - Right-Click Menu
- Delete: Permanently deletes the illustration.
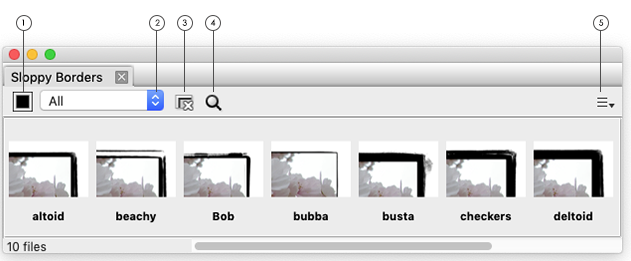
SLOPPY BORDERS PANEL
The Sloppy Borders panel displays all Sloppy Borders made available courtesy of Kevin Kubota, Kubota Image Tools.
Open Sloppy Borders Panel
If the Sloppy Borders panel is not visible, Go to Window > Sloppy Borders or select Restore the default workspace.
Open Sloppy Borders Panel
If the Sloppy Borders panel is not visible, Go to Window > Sloppy Borders or select Restore the default workspace.
- Color Picker: Select Sloppy Border color.
- Collections: Filter by Sloppy Border thickness.
- Undo Sloppy Borders: Removes selected Sloppy Border from image.
- Adjust Thumbnail Size: Changes the size of the illustration thumbnails.
- Options: Opens Options menu.
- Color Picker: Select Sloppy Border color.
- Collections: Filter by Sloppy Border thickness.
- Undo Sloppy Borders: Removes selected Sloppy Border from image.
- Reveal in Explorer (Finder): Shows Illustration in the finder window.
- Refresh: Reloads to default view.
- Delete: Permanently deletes the Sloppy Border.
- Click on Sloppy Border thumbnail
- Drag and drop onto image
- Size and position at desired location.
- Adjust the images zoom and position within its window frame, if needed.
Sloppy Border Thumbnail - Right-Click Menu
- Delete: Permanently deletes the Sloppy Border.
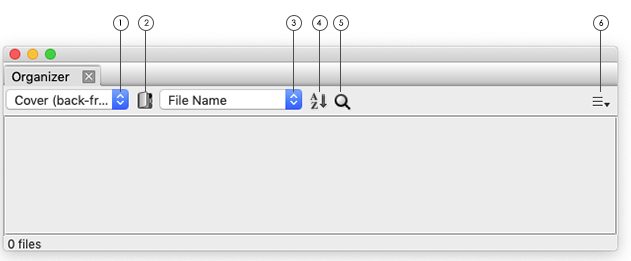
ORGANIZER PANEL
The Organizer panel displays all images that were allocated to each page spread while in Organizer mode.
Open Organizer Panel
If the Organizer panel is not visible, Go to Window > Organizer or select Restore the default workspace.
Open Organizer Panel
If the Organizer panel is not visible, Go to Window > Organizer or select Restore the default workspace.
- Page: Select page spread to view.
- Open Organizer: Switch to the Organizer mode.
- Sort Options: Sorts image files by file name, file size or captured date.
- Sort Direction: Sorts the image files alphabetically either in ascending or decending order.
- Adjust Thumbnail Size: Changes the size of the illustration thumbnails.
- Options: Opens Options menu.
- Page: Select page spread to view.
- Sort Options: Sorts image files by file name, file size or captured date.
- Sort Direction: Sorts the image files alphabetically either in ascending or decending order.
- Delete Selected File: Removes image from page spread allocation.
- Open Organizer: Switch to the Organizer mode.
- Edit With: Choose applications to open image with outside of ABM.
- Get Info: Gives information about the image.
- Delete: Removes image from page spread allocation.
GUIDES PANEL
Open Guides Panel
If the Guides panel is not visible, Go to Window > Guides or select Restore the default workspace.
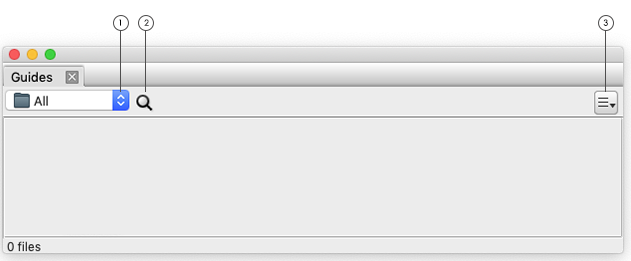
If the Guides panel is not visible, Go to Window > Guides or select Restore the default workspace.
- Select Collection: Filter by collections.
- Adjust Thumbnail Size: Changes the size of the illustration thumbnails.
- Options: Opens Options menu.
- Add to My Favorites: Add to My Favorites collection.
- Collections: Filter by collections.
- Reveal in Explorer / Finder: Shows guide files in the finder window.
- Refresh: Reloads to default view.
- Delete: Permanently deletes guide file.
- Add to My Favorites: Add to My Favorites collection.
- Delete: Permanently deletes guide file.
CUSTOM PAGE TEMPLATE PANEL
The Custom Page Template panel displays saved custom page templates to use throughout a layout for a consistent image placement.
Open Custom Page Template Panel
If the Custom Page Template panel is not visible, Go to Window > Custom Page Template or select Restore the default workspace.
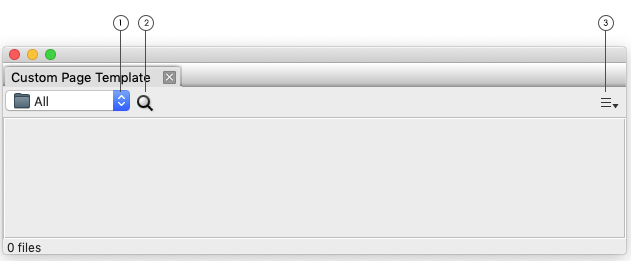
If the Custom Page Template panel is not visible, Go to Window > Custom Page Template or select Restore the default workspace.
- Select Collection: Filter by collections.
- Adjust Thumbnail Size: Changes the size of the illustration thumbnails.
- Options: Opens Options menu.
- Add to My Favorites: Add to My Favorites collection.
- Collections: Filter by collections.
- Reveal in Explorer / Finder: Shows guide files in the finder window.
- Refresh: Reloads to default view.
- Delete: Permanently deletes guide file.
Guides Thumbnail - Right-Click Menu
- Add to My Favorites: Add to My Favorites collection.
- Delete: Permanently deletes guide file.